AI Image Inpainting
Fill Any Part of a Photo
Free AI image inpainting online. Remove objects, replace backgrounds, extend the frame, add new elements and repair damaged areas — generative fill that matches your photo's light and texture, with no mask to paint.
Try the AI Image Inpainting Tool — Free
Upload a photo, choose the kind of fill you need, and download the result in seconds
AI Image Inpainting
Upload a photo, pick an inpainting mode, and the AI rebuilds that part of the image seamlessly
Upload the photo you want to inpaint, choose an edit type, and click Generate
Tip: name the target precisely — "the red car on the left" beats "the car" when several are in frame.
AI Image Inpainting Examples
Six kinds of generative fill, from erasing a photobomber to rebuilding a torn corner
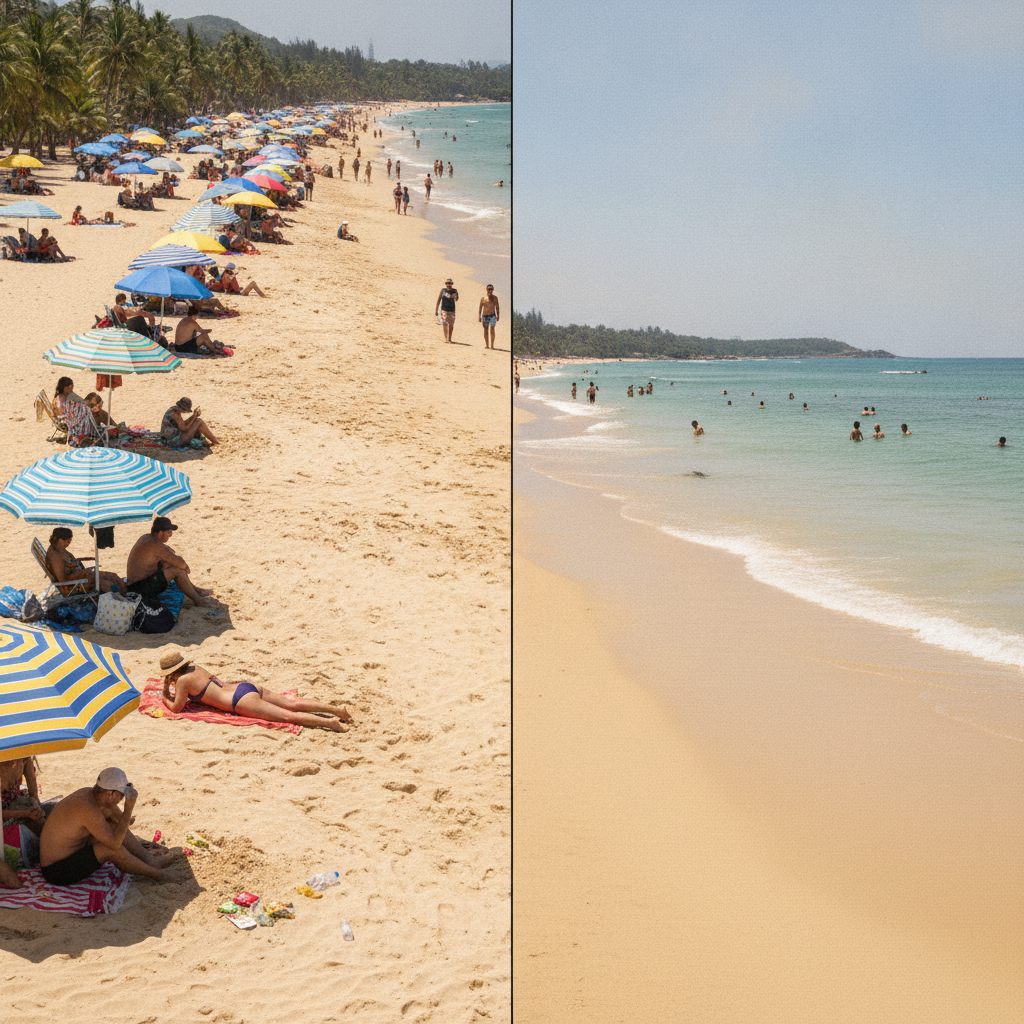
Remove Objects
Made with GPT Image 2
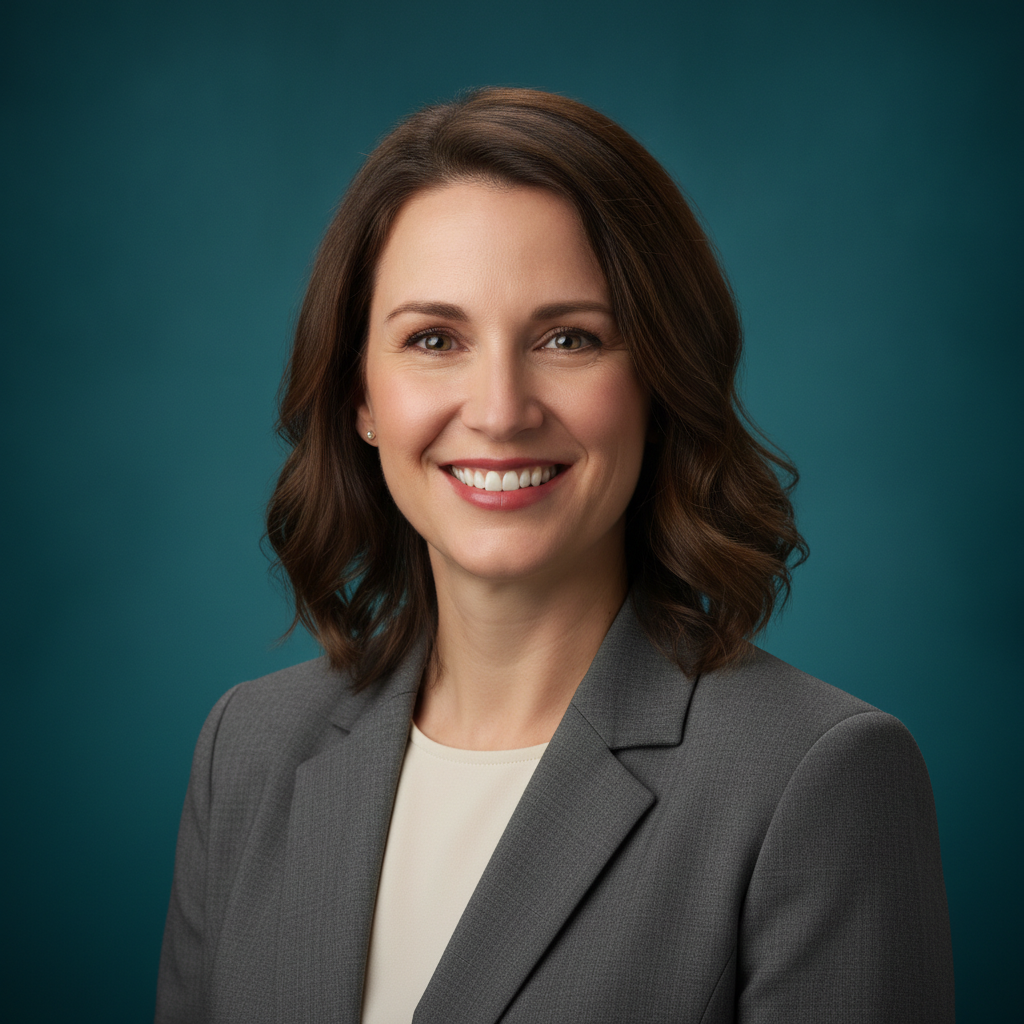
Replace Background
Made with GPT Image 2
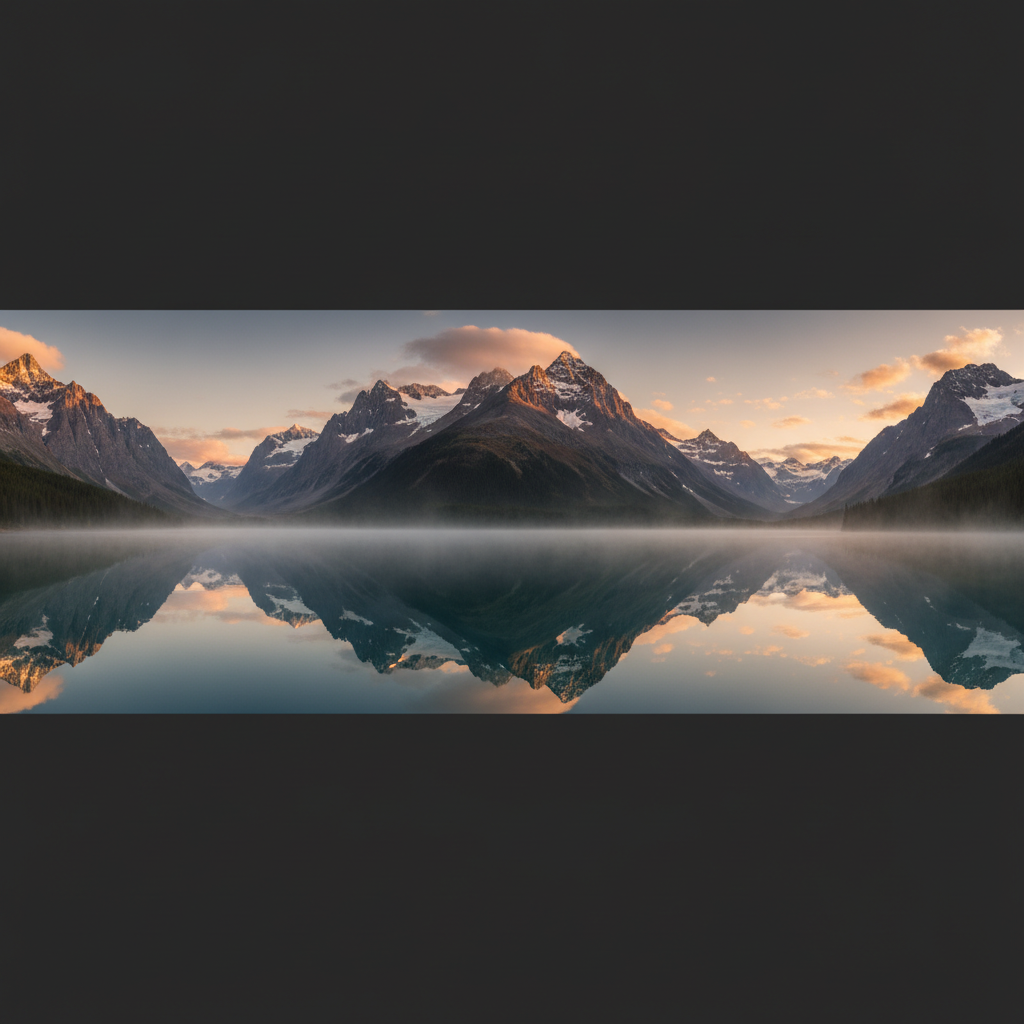
Extend the Frame
Made with GPT Image 2
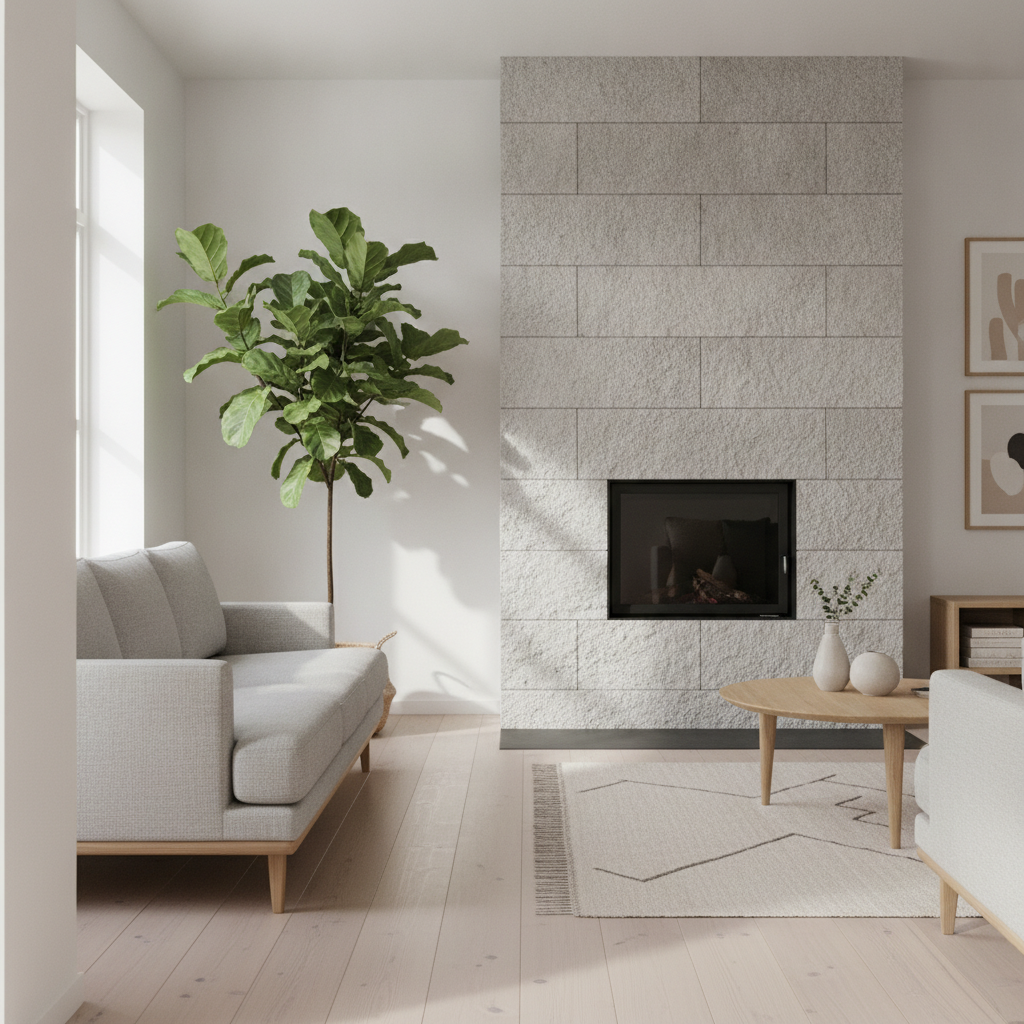
Add New Elements
Made with GPT Image 2
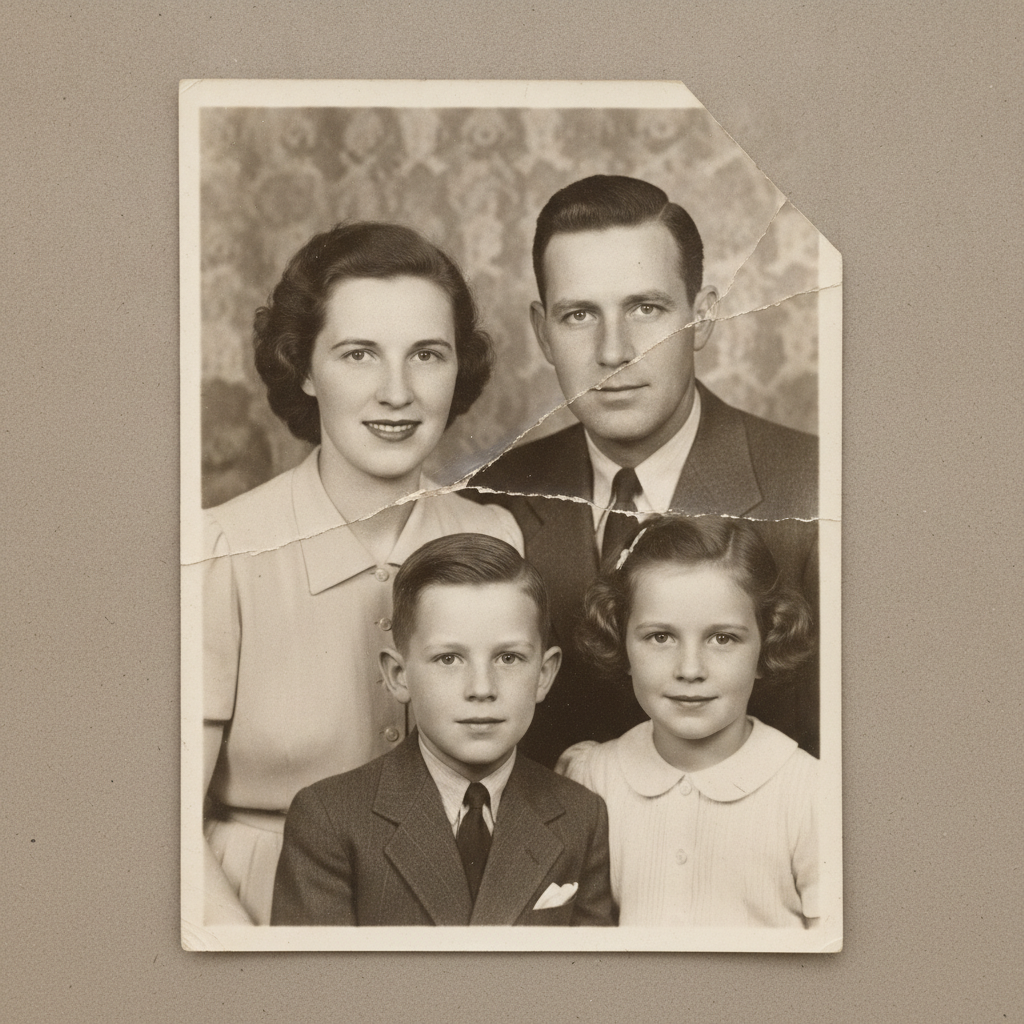
Repair Damage
Made with GPT Image 2
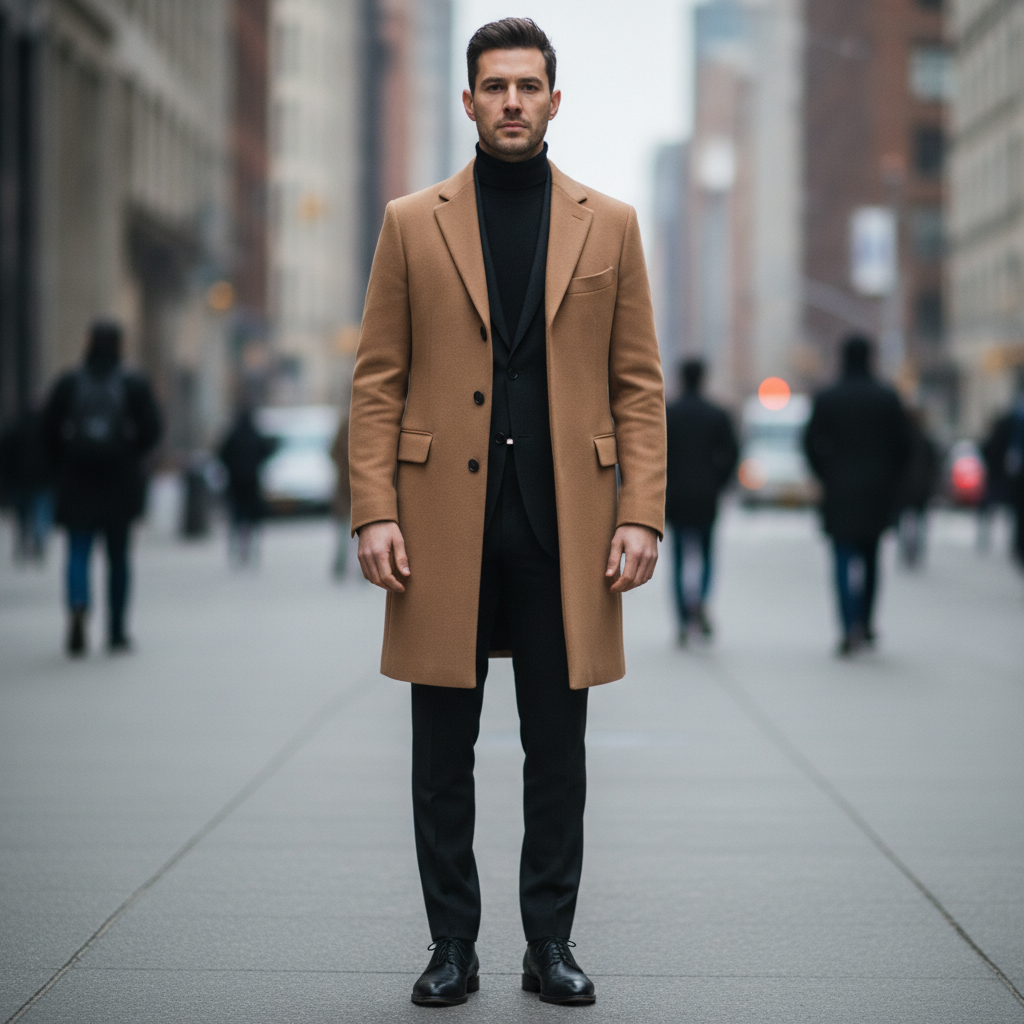
Swap Clothing
Made with GPT Image 2
How AI Image Inpainting Works
Upload, describe the region, download the fill
Upload Your Photo
Drop in any JPG or PNG — a portrait, a product shot, a room, a scan of an old print.
Describe the Edit
Pick an inpainting preset and say what should change. No mask, no lasso, no layer stack.
Download the Result
Get a seamlessly filled, high-resolution image in seconds — or regenerate until the fill is right.
Why AI Inpainting Beats the Clone Stamp
Copying pixels smears on complex backgrounds. Generative fill invents the right ones.
No Mask, No Brush
Describe the region in words instead of painting a pixel-perfect selection. The AI inpainting model finds it for you.
Context-Aware Fill
New pixels inherit the perspective, lighting, shadow direction, colour cast and grain of the surrounding photo.
Inpaint and Outpaint
Rebuild inside the frame or extend past its edges to turn a tight crop into a wide banner shot.
Six Edit Types
Remove, replace background, extend, add elements, repair damage or swap clothing — each tuned as its own preset.
Yours to Use
Download and use your inpainted images commercially. No attribution, no licence tiers, no watermark to buy out.
Seconds, Not Sessions
What used to be twenty minutes of clone stamping and healing brush work is one upload and one sentence.
Who Uses AI Image Inpainting
Anyone who needs one part of a photo to be different
Photographers
Erase the bin at the edge of the frame, extend a tight crop to fit a client's banner size, and repair scans of damaged prints without an hour of healing brush work.
Ecommerce Sellers
Clear reflections, stickers and cluttered surfaces out of product shots, then inpaint a clean studio background so a whole catalogue looks like one shoot.
Estate Agents & Designers
Remove clutter and parked cars from property photos, and add furniture, fireplaces or plants into an empty room to show a client what the space could become.
Content Creators
Outpaint a portrait crop into a wide thumbnail, swap a background for a brand colour, and get one usable shot out of the frame that was almost perfect.
AI Image Inpainting FAQ
Masks, outpainting, resolution and commercial use
Free AI Image Inpainting, Without the Mask-Painting Ritual
Inpainting used to be the most technical part of photo editing. In Photoshop you built a selection, feathered it, sampled a source point and cloned by hand; in Stable Diffusion you painted a mask, tuned denoising strength and hoped the seam blended. Both approaches punish imprecision, which is why so many results end up with a soft smear where the object used to be. Prompt-driven AI image inpainting removes that step entirely: you say what should change, the model locates the region and generates pixels that belong there.
What makes generative fill different from cloning is that it is not copying anything. A clone stamp can only move pixels that already exist somewhere in the frame, so it fails the moment the hidden area contains structure that was never photographed — a face behind a passer-by, a horizon behind a lamppost, a patterned rug behind a chair. An inpainting model has seen enough photographs to infer what should plausibly be there and render it with the correct perspective, lighting and grain. That is also why AI inpainting handles the harder jobs on this page: rebuilding a torn corner of a 1940s print, or extending a landscape past the edge of the original negative.
Two practical habits get you a usable result on the first attempt. First, be specific about the target — "the red car on the left" instead of "the car", "the crease across her shoulder" instead of "the damage" — because ambiguity is the main reason an inpainting fill lands in the wrong place. Second, work in one direction at a time: remove the clutter, download, then re-upload to change the background. Stacking several unrelated edits into a single request gives the model competing instructions and usually costs you a detail you wanted to keep. And remember the order of operations for print work — inpaint first, upscale second.
Neighbouring tools cover the rest of the workflow. If you only need something gone, the AI object remover is the focused version of the Remove preset, and the AI background remover gives you a clean cut-out instead of a replacement scene. Use the AI image extender for outpainting a specific aspect ratio, the AI photo restoration tool for badly damaged family prints, and the AI photo colorizer once a black and white scan is repaired. For broader edits, the AI image editor and AI image to image tools rework a whole photo rather than one region, AI background generator builds the scene you want to drop a subject into, and the AI image upscaler takes your finished inpaint up to print resolution. Scroll back up, upload your photo, and fill it free.